728x90
    
    
  ★ 부트스트랩, BootStrap
- 웹사이트를 쉽게 만들 수 있게 도와주는 CSS, JS프레임워크이다.
 - https://getbootstrap.com/docs/5.3/getting-started/download/
 
Download
Download Bootstrap to get the compiled CSS and JavaScript, source code, or include it with your favorite package managers like npm, RubyGems, and more.
getbootstrap.com
- 다운로드
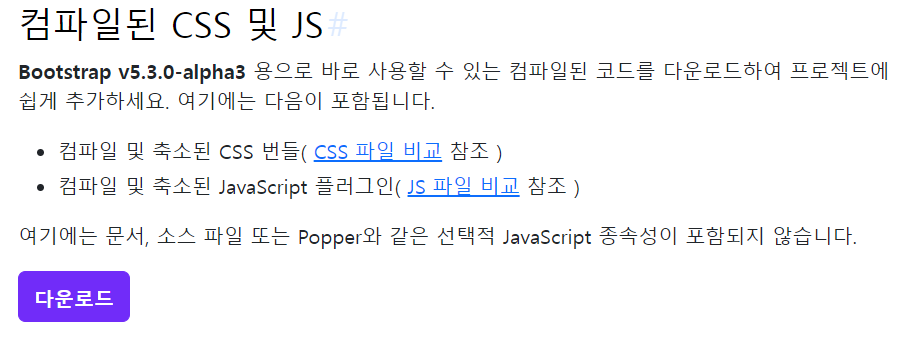
 

- CDN
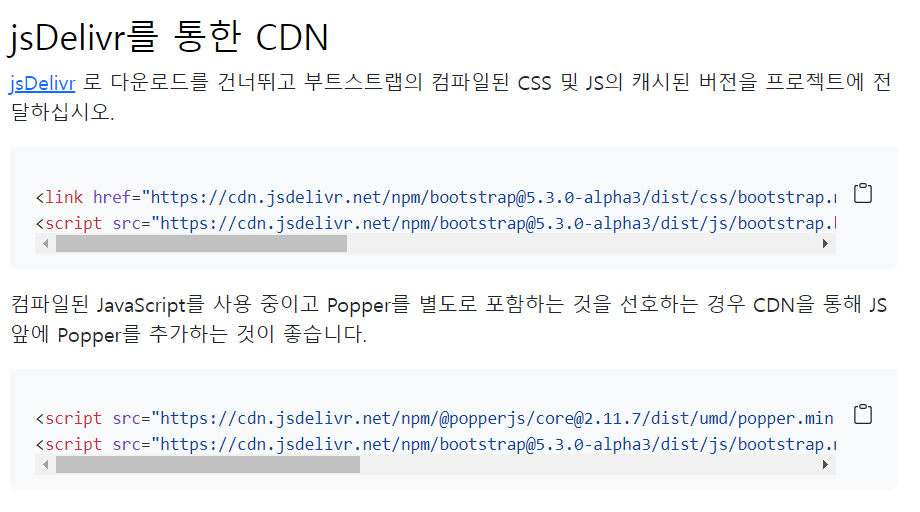
 

- VSCode 터미널을 이용해서 다운로드
 

■ 부트스트랩 가져오기 명령어
<link rel="stylesheet" href="../node_modules/bootstrap/dist/css/bootstrap.css">
<script src="../node_modules/bootstrap/dist/js/bootstrap.js"></script>
■ 다양한 사용 설명
Bootstrap 시작하기
Bootstrap은 강력하고 기능이 풍부한 프론트엔드 툴킷입니다. 프로토타입부터 프로덕션까지 뭐든지 빠르게 빌드해보세요.
getbootstrap.kr
- 해당 링크에서 다양한 폼에 맞춘 클래스로 맞춰진 클래스들이 존재함.
 - 원하는 것을 가져와 사용하면 됌.
 
■ 사용 ex)
- 버튼 디자인
 
<button class="btn btn-primary btn-sm">버튼</button>
- 다양한 디자인별, 버튼 클래스
 

- 테이블 디자인
 
<table class="table table-bordered table-hover">
</table>
- 실행 결과
 

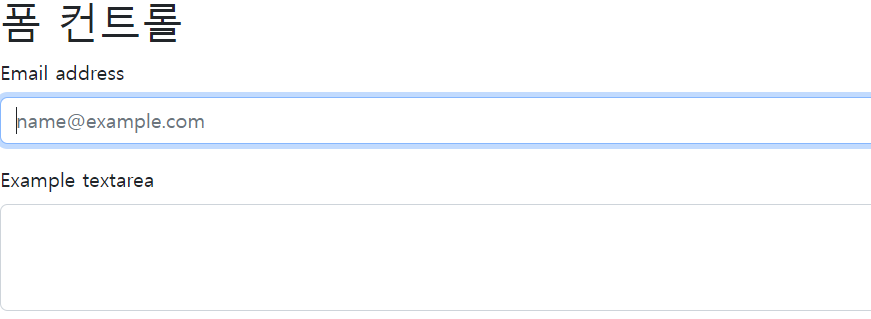
- Form 컨트롤
 
<div class="mb-3">
  <label for="exampleFormControlInput1" class="form-label">Email address</label>
  <input type="email" class="form-control" id="exampleFormControlInput1" placeholder="name@example.com">
</div>
<div class="mb-3">
  <label for="exampleFormControlTextarea1" class="form-label">Example textarea</label>
  <textarea class="form-control" id="exampleFormControlTextarea1" rows="3"></textarea>
</div>
- 실행 결과
 

- Select 박스
 
<select class="form-select" aria-label="Default select example">
  <option selected>Open this select menu</option>
  <option value="1">One</option>
  <option value="2">Two</option>
  <option value="3">Three</option>
</select>
- 실행 결과
 

- 체크박스 & 라디오박스
 
<div class="form-check">
  <input class="form-check-input" type="checkbox" value="" id="flexCheckDefault">
  <label class="form-check-label" for="flexCheckDefault">
    Default checkbox
  </label>
</div>
<div class="form-check">
  <input class="form-check-input" type="radio" name="flexRadioDefault" id="flexRadioDefault1">
  <label class="form-check-label" for="flexRadioDefault1">
    Default radio
  </label>
</div>
- 이 이외에도 다양한 클래스들이 존재해서, 해당 폼들을 가져와서 조립하듯이 만들면 됌.
 
728x90
    
    
  'Library' 카테고리의 다른 글
| HighChart STEP 1 - 셋팅&사용 (0) | 2023.05.03 | 
|---|---|
| BootStrap STEP 2 - Page 만들기 (0) | 2023.05.03 | 
| JQuery STEP 10 - JQuery Slider (0) | 2023.05.02 | 
| JQuery STEP 9 - JQuery_UI (0) | 2023.05.02 | 
| JQuery STEP 8 - 포트폴리오 기초 (0) | 2023.05.01 | 
728x90
    
    
  ★ 부트스트랩, BootStrap
- 웹사이트를 쉽게 만들 수 있게 도와주는 CSS, JS프레임워크이다.
 - https://getbootstrap.com/docs/5.3/getting-started/download/
 
Download
Download Bootstrap to get the compiled CSS and JavaScript, source code, or include it with your favorite package managers like npm, RubyGems, and more.
getbootstrap.com
- 다운로드
 

- CDN
 

- VSCode 터미널을 이용해서 다운로드
 

■ 부트스트랩 가져오기 명령어
<link rel="stylesheet" href="../node_modules/bootstrap/dist/css/bootstrap.css">
<script src="../node_modules/bootstrap/dist/js/bootstrap.js"></script>
■ 다양한 사용 설명
Bootstrap 시작하기
Bootstrap은 강력하고 기능이 풍부한 프론트엔드 툴킷입니다. 프로토타입부터 프로덕션까지 뭐든지 빠르게 빌드해보세요.
getbootstrap.kr
- 해당 링크에서 다양한 폼에 맞춘 클래스로 맞춰진 클래스들이 존재함.
 - 원하는 것을 가져와 사용하면 됌.
 
■ 사용 ex)
- 버튼 디자인
 
<button class="btn btn-primary btn-sm">버튼</button>
- 다양한 디자인별, 버튼 클래스
 

- 테이블 디자인
 
<table class="table table-bordered table-hover">
</table>
- 실행 결과
 

- Form 컨트롤
 
<div class="mb-3">
  <label for="exampleFormControlInput1" class="form-label">Email address</label>
  <input type="email" class="form-control" id="exampleFormControlInput1" placeholder="name@example.com">
</div>
<div class="mb-3">
  <label for="exampleFormControlTextarea1" class="form-label">Example textarea</label>
  <textarea class="form-control" id="exampleFormControlTextarea1" rows="3"></textarea>
</div>
- 실행 결과
 

- Select 박스
 
<select class="form-select" aria-label="Default select example">
  <option selected>Open this select menu</option>
  <option value="1">One</option>
  <option value="2">Two</option>
  <option value="3">Three</option>
</select>
- 실행 결과
 

- 체크박스 & 라디오박스
 
<div class="form-check">
  <input class="form-check-input" type="checkbox" value="" id="flexCheckDefault">
  <label class="form-check-label" for="flexCheckDefault">
    Default checkbox
  </label>
</div>
<div class="form-check">
  <input class="form-check-input" type="radio" name="flexRadioDefault" id="flexRadioDefault1">
  <label class="form-check-label" for="flexRadioDefault1">
    Default radio
  </label>
</div>
- 이 이외에도 다양한 클래스들이 존재해서, 해당 폼들을 가져와서 조립하듯이 만들면 됌.
 
728x90
    
    
  'Library' 카테고리의 다른 글
| HighChart STEP 1 - 셋팅&사용 (0) | 2023.05.03 | 
|---|---|
| BootStrap STEP 2 - Page 만들기 (0) | 2023.05.03 | 
| JQuery STEP 10 - JQuery Slider (0) | 2023.05.02 | 
| JQuery STEP 9 - JQuery_UI (0) | 2023.05.02 | 
| JQuery STEP 8 - 포트폴리오 기초 (0) | 2023.05.01 |